How to make bacon at home
By John Hulett, Medium Well
People have been salting and curing meat for centuries (if not millennia). In the main the principals haven’t changed a great deal.
How to make bacon at home is really not that hard. What you do need to have is time (which isn’t a problem at the moment), some patience, and the right kit and equipment. You’ll have to wait a good few days for your work to come to fruition on your plate. The time you spend to ‘make’ the bacon is really quick. It generally takes under ten minutes to (begin) turning a slab of pork belly into delicious streaky bacon.
People have been salting and curing meat for centuries (if not millennia). In the main the principals haven’t changed a great deal. Salt is used to draw out liquid from the meat, so it lasts longer without spoiling.
Although born as a preserving technique, our appetite for salted meat is now flavour based
While every nation has its own take on curing to some extent, and there are thousands of variations, there are still only two essential ingredients needed to preserve meat. Salt and Air. The very best dried ham in the world, regardless of where they’re from, are generally produced with just these two ingredients.
Although born as a preserving technique, our appetite for salted meat is now flavour based, with bacon the curing king. It’s no surprise that most vegetarian converts admit they miss bacon.
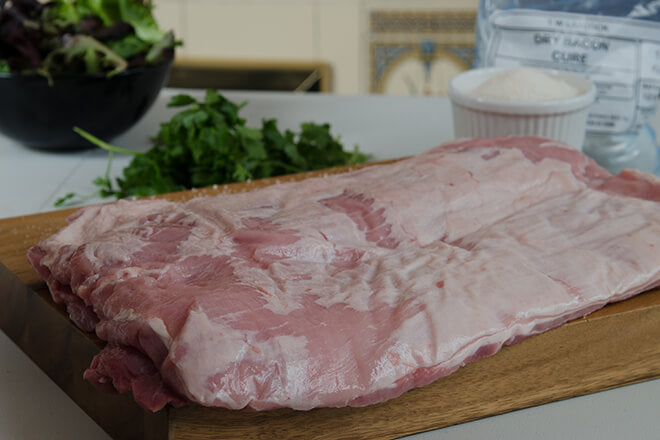
The easiest way to start with making bacon at home is the old fashioned way. Dry curing. This is nothing more or less than the direct application of salt to meat. If you can get hold of some proper curing salt or bacon cure, we’d advise using that. It does contain sodium nitrate, which makes the alluring pink colour, adds flavour and slightly speeds up the curing process.

There’s lots of stockists out there, especially online based. Weschenfelder are top guys, and super helpful for beginners. Scobies Direct are mainly trade suppliers to butcher shops, but also supply smaller packs, and obviously the ubiquitous Amazon is a source if needed.
If you have an issue with nitrates, you can use regular salt and your bacon will taste fine. Sea salt is generally the best, but the process works with any salt. We will warn you in advance though, if you just use salt, the bacon won’t be pink when cured. That’s a deal breaker to a lot of people as a grey-brown bacon just isn’t what we’re used to seeing or eating.
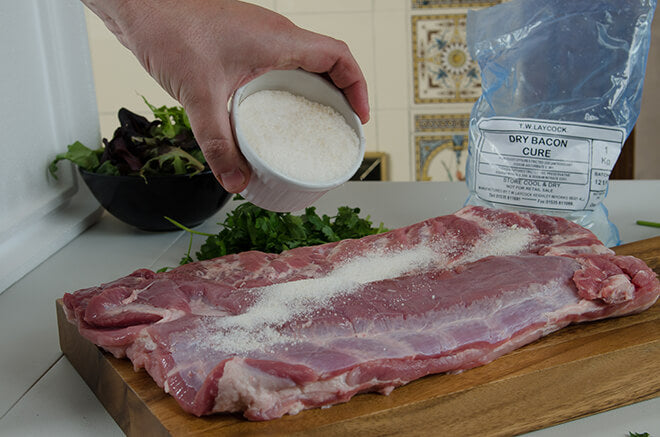
As a general rule you want to allow 70g salt or dry cure mix to 1kg Pork (7%). So for a 3kg belly you’d be looking at about 210g or for a 2kg pork leg 140g salt/cure mix. That 7% ratio is very subjective, and comes down to personal taste. Add more if you like a saltier taste, and slightly less for a milder flavour, but generally you’ll want a salt/cure to meat ratio of between 5-10%.
As you advance there are any other number of ingredients you can start to add to your own blend. Sweeteners such as sugar, honey and maple syrup are very on trend at the moment, as are aromatics such as bay leaves, juniper berries, coriander and citrus zest. There’s absolutely no rules of engagement here - it’s time to get creative.
Each day for the next seven days, you must flip the bacon once a day.
The only really big DON’T when it comes to dry curing is not to let the salt have any prolonged contact with metal. As such, don’t use a ‘reactive’ container to keep the pork in during the curing process. Any container that will fit the pork joint in will do. A large plastic tupperware would be great or any food-safe container. Even a wooden crate, but we didn’t tell you that if H&S police are reading this.
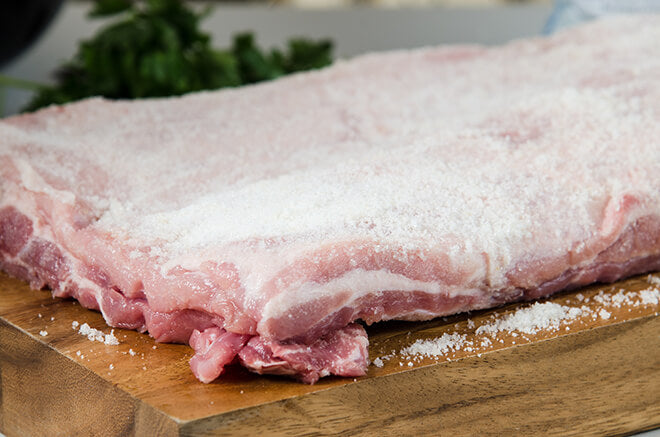
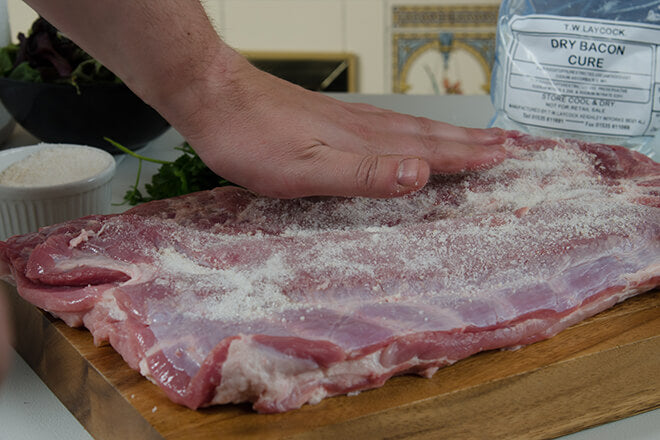
To make the bacon, lay the meat in a shallow food-safe container and rub it all over with the dry cure mix, at a ratio of about 70g per 1kg of pork. It’s a good idea to do one coat on all sides, shake off the excess and let the belly sit for 5 minutes. Then reapply the cure that’s fallen off. You’re best off rubbing it in by hand, so you might want to wear food-safe gloves, although we appreciate they’re scarce at the moment.
Cover the container with cling film, or wrap the pork in cling film and place the container in the fridge.
Each day for the next seven days, you must flip the bacon once a day. You can scoop up and re-apply the dry cure mix all over the meat. This is less important if you’ve wrapped the meat in cling film, but otherwise it needs to be done every day otherwise you’ll end up with unequally cured bacon.
During the curing process you’ll see an increasing take up of water in the container, and you just need to baste the meat with this liquor.
Curing will be complete within 5-8 days depending on the thickness of the meat and the storage temperature. For a regular belly joint, most people usually find 6 or 7 days is about right, but you can leave it longer for a saltier taste.
After 7 days curing, gently wash off the remaining cure mix with cold water, and then pat dry with paper towel.
You then really need to either hang it on a meat hook (probably not practical), or place it back in the fridge for 24 hours. It’s best to wrap it in heavy, breathable butcher’s paper, or a paper bag.
Congratulations, the bacon is now ready for slicing and cooking. If you’re not going to use it in the next 2 weeks or so, it’ll be good to freeze. Slicing bacon that is frozen or partially frozen is actually way easier, so it’s good to do it for that reason alone.
Let us know how you get on, and happy bacon making!